



Detailed explanation of the installation method of the card sleeve type Valve Connector
Release time:
2021-06-11
Preparation of Valve Connector installation, saw off the seamless steel pipe of appropriate size, and the tolerance of the perpendicular angle between the end surface of the pipe and the axis is not more than 0.5. Pour a 0.2×45 break

(1) Preparation of Valve Connector installation, saw off the seamless steel pipe of appropriate size, and the tolerance of the perpendicular angle between the end surface of the pipe and the axis is not more than 0.5. Pour a 0.2×45 break, and the connection port should be polished and smooth, and the surface should not have burrs and uneven surfaces. When bending the steel pipe, the length of the straight line from the end of the pipe to the bend should be greater than 2 times the length of the nut.
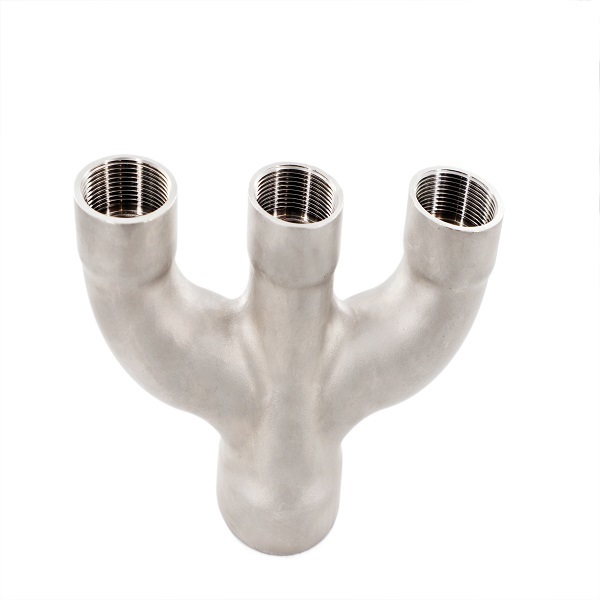
(2) Apply lubricating oil on the threads of Valve Connector body and the ferrule, spread evenly, and then tighten the nut repeatedly by hand to make the lubricating oil evenly spread on the nut threads.
(3) Put the nut and Valve Connector on the seamless steel pipe. The direction of the ferrule should not be reversed. Insert the pipe into the joint body (the pipe must be inserted to the end), and tighten the nut.
(4) Tighten the nut evenly with one-handed wrench to the point of torque surge.
(5) After reaching the pressure point, tighten the nut 1/2 turn. Be careful not to rotate the steel pipe when tightening the nut.
(6) The pre-installation should leave a margin, and the Valve Connector should not be completely embedded in the pipe, so that the pipe is subjected to tensile stress. Remove the pre-tightening nut and check whether the steel pipe has formed an obvious protrusion at the front end of the ferrule, and The front end of the ferrule has been wrapped by more than 50%, and the ferrule can be rotated slightly, but cannot be moved axially.
(7) The installation is finally completed, the nut is screwed to the point of the Valve Connector torque surge, and then tightened about 1/4 turn to complete the installation.
Related News
MESSAGE
Hans Wang
Jacinda Lee
Sharon Zhao
David Yang
Binzhou Zeli Precision Metal Technology
Address: Wudi County Industrial Park, Xinghu 3rd Road, South Development 5th Road East
Tel:+86-543-6360571
Fax:+86-543-6360496
E-Mail:sales@zeliprecisionmetal.com
Copyright©Binzhou Zeli Precision Metal Technology